Monday, June 25, 2012

Cravings & Creations Part 2

Growing up, my sister had a part time job at Monsieur Felix & Mr. Norton, so this meant I could eat as many cookies as I wanted! My favourite cookie of all time was the Caramelo: chocolately, gooey, with hunks of delicious melted, caramel throughout! The edges of the Caramelo were always a bit crispy with baked caramel -the tastiest part! Anyway, when I came across a recipe for Rolo Chocolate Chip Cookies on Pinterest the other day, I knew I had to make them, because I knew I would fall in love! Plus, the recipe looks so incredibly decadent and bad for you, that you just know it's going to be marvelous! It makes three dozen cookies, and the only thing I would change about this recipe is, the next time, I would make it with mini Rolos and put four in each cookie! I say this because the cookies I decided to put two Rolos in instead of one, turned out to be yummier.


Rolo Chocolate Chip Cookies

1 1/2 cups of unsalted butter, softened (See? Decadent!)
1 cup of granulated sugar
1 cup of brown sugar
1 tbsp vanilla
2 eggs
3 3/4 cup all-purpose flour
2 tsp baking soda
1 tsp Kosher salt
1 1/2 cups of semi-sweet chocolate chips (I used mini chocolate chips)
1 bag of frozen Rolos (frozen for at leat 2 hours. You have to unwrap a bag of Rolos individually, so if you're lazy, buy a few rolls instead, but it's less cost effective)


Preheat your oven to 350°F.

On medium speed in your mixer, beat together the sugars, butter, vanilla and eggs until fluffy. Next, mix in the flour, baking soda and salt. Fold in the chocolate chips by hand, using a wooden spoon.

Scoop out the dough into 1.5 tbsp balls, then flatten them and place one or two frozen Rolos into the centre. Roll it back up into a ball. Place the dough balls on a cookie sheet, about 2 inches apart. Bake for 12 to 14 minutes, or until they are very slightly brown.


Since they are so filled with gooey yumminess, you'll have to let them cool on the sheet for five minutes before transferring them to a cooling rack. Enjoy!

Look at the caramel on the bottom!!! Yummmmmmm!


Saturday, June 23, 2012

Cravings & Creations Part 1

When I'm bored, it can get very dangerous. Not in a fearing for one's life sort of way, but more of a fearing for the disappearance of one's waistline kind of way. As you have probably gathered by now, today was one of those days! My hardworking husband had to go into the office on this rainy/cool turned sunny/warm Pride Weekend Saturday, so I decided to turn the apartment into my own personal kitchen dance party. On the menu tonight was Pancetta & Portobello Mushroom Risotto, and Chocolate Chip Rolo Cookies! I blasted the music (first some 90s R&B) and sang Boyz II Men at the top of my lungs while chopping and simmering and taking pictures to share with you. My gorgeous friend Kaye shared this recipe with me a few months ago, and I will forever be grateful because it's one of my favourite dishes of all time now. It takes about an hour, if you're a quick prep chef.

Pancetta & Portobello Mushroom Risotto


2 1/2 tbp of unsalted butter

125g of Pancetta thinly sliced
250g Portobello Mushroom Caps chopped
6 cups good quality chicken stock
1 cup of white wine
1 small yellow onion diced
2 cups of arborio rice
1 or 2 cloves of garlic finely diced
1/2 lemon rind, finely grated
1 cup grated parmesan
black pepper to taste


Take half your butter and melt it in a heavy pan, I like to use my big Le Creuset, and cook the pancetta for 5 minutes, until brown. Next, add the mushrooms, and stir for 10 minutes until soft. Transfer your pancetta and mushroom mixture to a bowl and set aside.


Now bring your chicken stock and wine to a boil in a saucepan, immediately bring to a simmer.


Next, melt the rest of the butter in the heavy pan, and soften your onions for ten minutes. Add your garlic for the last minute, then add your arborio rice. Stir until the rice is nicely coated in butter, then add your pancetta mushroom mixture.


This is the part that takes patience, because at this point, everything smells SO GOOD. I take a small glass measuring cup and dip it into the wine chicken stock, to scoop up about half a cup of broth and slowly add it to the rice mixture. Keep stirring and allowing the rice to absorb the broth slowly. Repeat this for the next 20 minutes, until all your broth is gone, and the rice has absorbed most of the liquid.


Remove from heat and add your grated parm, pepper to taste, and your lemon rind. I never add salt because I figure the pancetta and parmesan cheese are plenty salty, but feel free to do so.

All that's left is to dish it out, add some parmesan on top if you wish, and devour! Stay tuned tomorrow for part 2: Rolo Chocolate Chip Cookies, and a fun way to eat leftover risotto!


Tuesday, May 1, 2012

Lasagna Cups?! Can I Get a "What-what!"

Alright, I know it's been literally a year since I last posted, but don't worry, the cooking hasn't stopped! I just had to take a hiatus from blogging for jewelry-making, travelling, learning how to drive, and life in general! The posts won't be as frequent, but I will try to update with fun, yummy things every once in a while. My husband saw my laptop open to three different recipes (from Pinterest), and this particular one caught his eye. I could never refuse that excited face, so into production it went!

Lasagna Cups
Bolognese Sauce (of course, you can use your own recipe!)
2 tbsp olive oil
1 small onion
1/2 pound lean ground beef cooked and drained
1 small zucchini, diced
2 cloves garlic, minced
6 oz. can tomato paste
8 oz. can tomato sauce
14.5 oz. can diced tomatoes
1 tbsp dried basil
1/2 tbsp dried oregano
1 bay leaf
1 tbsp sugar
salt & pepper to taste
Cheese Filling
10 oz. tub Philadelphia Tomato & Basil Cheese Cooking Cream 
1/3 cup grated parmesan cheese
3/4 pound mozzarella cheese, grated & divided
1/3 cup ricotta cheese
1/2 teaspoon pepper
1 egg
21 lasagna pasta sheets
1/4 cup white wine


Parchment paper or aluminum foil, muffin tin


The state of my counter.


Brown your ground beef!


Brown your ground beef and set it aside. Next, saute your chopped up veggies in olive oil for 5 minutes on medium high heat, or until soft. Add the meat and tomato paste, stirring very well. Next, add your diced tomatoes, tomato sauce, bay leaf and a quarter cup of water to your sauce. I added a generous splash of white wine too, but you don't have to. Add your herbs, and simmer on low heat for at least 30 minutes. (covered, but not sealed with the lid)
While your sauce is cooking and getting more flavourful by the minute, bring a large pot of water to a boil. Add a pinch of salt just before it starts to boil, and a tablespoon of olive oil to prevent the pasta from sticking. Then add your lasagna sheets one at a time, cook them for only 10 minutes, and drain immediately. I laid all but 12 of my lasagna sheets out on a cutting board, the rest I left in the colander so I could briefly rinse them in cold water before rolling them into cups.
Set your oven to 350 degrees farenheit, and make your cheese mixture! This is easy if you've bought pre-shredded packs of cheese. It will be slightly more laborious if you have to shred the cheese yourself (which I did, because I'm cheap, and the blocks of cheese were cheaper than the shredded bags!) Dump everything into a mixing bowl and mix it up really well. 

Now, line your muffin tin with either pieces of parchment paper or aluminum foil. I used foil because it stays put and holds the cup's shape better.
Pasta sheets in boiling water

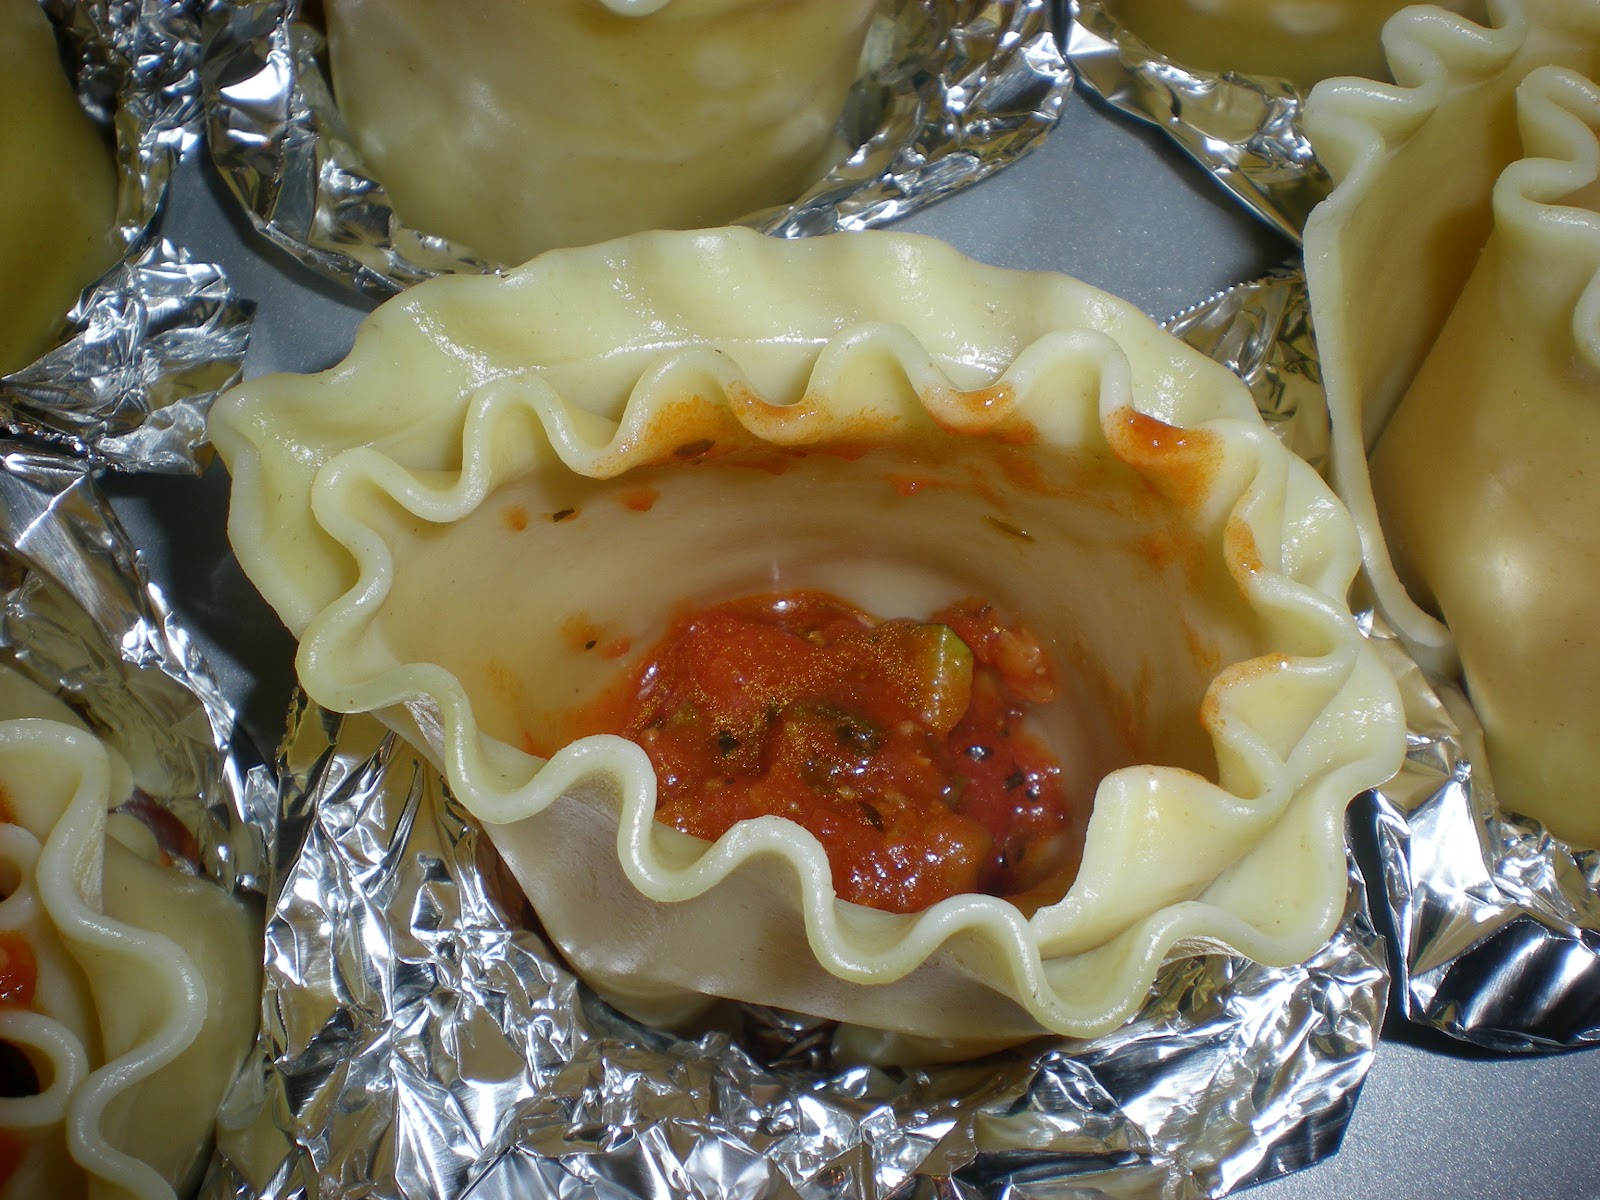
Roll your lasagna into tubes, and place in your lined muffin tray. You'll want it to be wide enough to stick a spoon in.

Cut the rest of the lasagna sheets into quarters for layering.

Spoon about half a tablespoon of sauce into the bottom of each lasagna cup, then layer a piece of pasta on it. Add more sauce, and then the cheese mixture, and more lasagna, etc. Repeat until each cup is quite full. Finish with a layer of cheese. If you have leftover sauce and cheese, don't worry, we can use it for pretty plating later!


Once you're done layering, pop them in the oven for 25-30 minutes.

What it looks like straight out of the oven! Yum!

Dinner is served!
If you end up with extra sauce, you can spread some on the bottom of your plate, along with a dollop of cheese mixture in the middle, and plop your piping hot lasagna cup right on top of the cheese mixture! Or you can even spread some more bolognese sauce over top of your lasagna cup!
These are great, because you can really control your portions, and they're super easy to pack for lunch, -just pick it up with your hands and put it in a take away container. 
My husband loves them and so do I! Lasagna Cupcakes, he calls them. :)